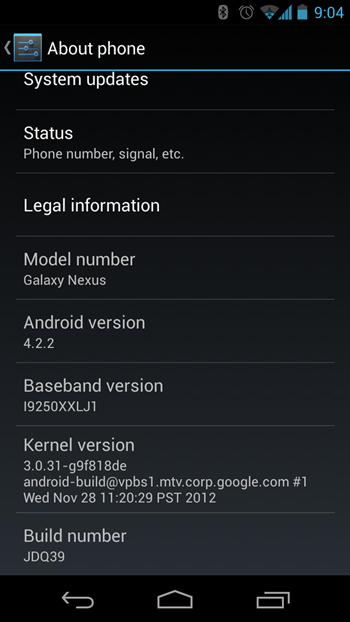
Today Google started rolling out the new Android 4.2.2 official firmware to all his Nexus devices. So today here we come with the post which helps you to Update Galaxy Nexus I9250 to Android 4.2.2 JDQ39 Official Firmware. This update is only for the Galaxy Nexus I9250 device not for the other nexus devices. The new update come with some improvements like Bluetooth bug and more.
To apply this update on your Galaxy Nexus I9250 device, your device should be running build JOP40D and your device is not rooted and has the stock ROM. So read all the info carefully before apply this update on your device.
Disclaimer: Tothemobile isn’t responsible for any harm to your device – proceed at your own risk.

NOTE:- Do not proceed if you don’t have Android 4.2.1 JOP40D installed on your Nexus Device and don’t forget to take the full backup of your device. Try these app to take the full backup of your device. And make sure you have installed the USB drivers for Samsung Galaxy Nexus properly and your Android device is charged up to 80-85% battery level. Also don’t forget to Enable USB Debugging feature on your device.
Install Android 4.2.2 JDQ39 OTA Official Update on Galaxy Nexus I9250
Step 1. Download Android 4.2.2 for Galaxy Nexus on your PC, if you haven’t already. Rename it to update.zip.
Step 2. Connect Galaxy Nexus USB memory on your computer using the USB cable.
Step 3. Now copy the update.zip file that you downloaded on step 1 and paste to your SD card. Make sure the file is in the root (not in any folders).
Step 4. Now Turn Off your device.
Step 5. Reboot your Galaxy Nexus, holding the Volume Up and Volume Down buttons while it boots up. Once you see the fastboot menu and “Start,” press Volume Up to navigate to “Recovery” and press the power button.
Step 6. Now you will get an exclamation mark now. Again hold your Volume Up + Power buttons. You should now see the Recovery Mode menu.
Step 7. Select update from SD card and select the update.zip file that you pasted on your SD card om Step 3 and select it with the Power button. Installation should start now.
Step 8. Now the installation process is start on your device and it will take some time. After the installation completes, the phone will boot now and it might take some time to boot on your first time.

That’s it You are now running Android 4.2.2 on your Galaxy Nexus. You can verify the new update by going on Go to Settings >About phone to verify.

I’m sorry to say this but the Nexus I9250 does not have an SD card slot so the above said method please revise.